Retreat
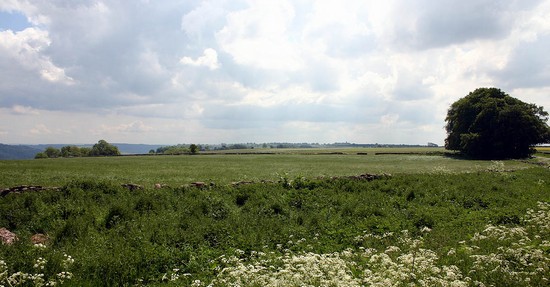
Late in the day, as Waller's forces were outflanked and in danger of being overrun in the centre, he was finally forced to retreat. But about 350 metres (400 yards) from his defences the plateau narrowed and there was a stone wall. This provided much needed cover, for the royalists now had artillery as well as musketeers on the plateau, sheltering behind the cover of Waller’s original defences. Openings broken through the wall, covered by artillery fire, enabled the parliamentarian cavalry to attack and retreat while the musketeers could fire in relative security from behind the wall.
As darkness fell royalist musketeers on Hopton’s right pushed further forward under the cover of the quarry pits and spoil heaps, which still remain as earthworks today between the wall and the wood. Here the two armies stood and exchanged fire into the night, neither able to take the initiative. Both armies were however on the verge of retreat. Under the cover of darkness at about 11:0pm it was Waller who withdrew from the field, because he was outnumbered and had lost his advantage of position. But the royalist admitted later that had Waller given one more charge they had determined to retreat, because their hold on the hill was still so tenuous, at the very edge of the scarp, and also perhaps because they were short of powder and their losses so great.