The Battle
Edward's army had been shadowing the rebels, on the north side of the Avon. De Montfort had arrived at Evesham at about 6:00am. News of the royal army’s approach reached him in Evesham Abbey at around 8:30am. At first the royal forces were supposedly mistaken, by a lookout on the tower of Evesham Abbey, for the approach of de Montfort's son, possibly because Edward was carrying captured banners from the attack at Kenilworth.
According to the new account, de Montfort dismissed the advice that they should defend the Abbey church against the enemy and await the arrival of reinforcements. Neither would he retreat over the bridge to delay the action. After addressing his troops beside the conduit in the town, taking the captive king Henry III with him, de Montfort rode out with his cavalry to engage the enemy. The infantry, under the command of de Bohun, followed as a rearguard because, according to other accounts, the Welsh troops were reluctant to fight.
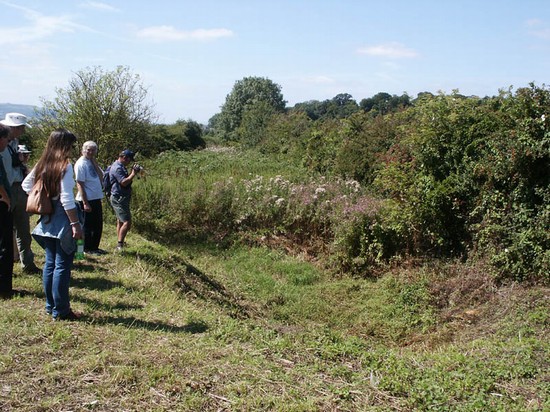
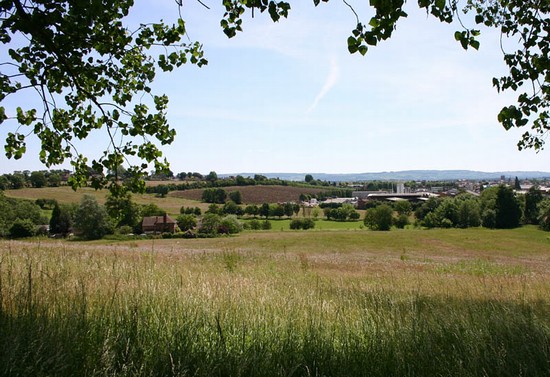
He presumably took the Alcester road north out of the town, which after less than a mile the road reaches the summit of Greenhill. Mathew Paris says the armies fought on a ‘large plain’, and Greenhill does rapidly widen out into a quite extensive flat topped hill. The new account implies that de Montfort was already deployed on the hilltop when Edward's army advanced up the hill, from the direction of Worcester. He thus had the choice of ground, but was outnumbered by more than three to one. According to Guilsbrough and Wykes chronicles Edward's battle was to the fore, but rather than the extensive separation between the forces depicted by Cox, this may simply have been the staggered deployment of battles such as those known for 12th century battles (Verbruggen, 1997, 209). However the new account implies the royal forces more simply deployed, Prince Edward's division in the centre, with those of de Clare to his left and Mortimer to his right.
Some accounts imply de Montfort made a bold cavalry attack, perhaps in the hope of breaking through, attacking in a wedge formation along the Alcester road, between the two divisions of de Clare and Prince Edward. At first some of the royal forces are said to have retreated, but then there was a counter attack, with the wings of the royal army swinging around, encircling de Montfort’s army, or at least his knights. According to the English Heritage report many of his infantry may already have been routed, but the suggestion that the encircled forces then sustained the action for ‘some hours’ seems highly improbable.
The new account clearly explains Edward’s tactics. Mortimer and twelve of his knights had been given the task of breaking through the rebel formation and striking straight at de Montfort, to kill him and thus destroy his army’s will to fight. According to Wykes, de Montfort brought his army together ‘in a thick mass in the form of a circle’ as a defence but very soon he and some twenty of his knights were killed, his body being hacked to pieces. Even the king himself, still held prisoner on the battlefield, was nearly killed in the melee.
After de Montfort's death his army broke and fled, some towards the river, many of whom were drowned; others were pursued across the fields and into the town, even in the abbey church itself. This execution is said to have continued until mid afternoon. Unusually for a medieval battle, no quarter was supposedly to be given and de Montfort, his son Henry and most of his main supporters were cut down, though some important prisoners were taken. De Montfort's son Simon, was still marching south from Alcester towards Evesham when he encountered fugitives for the battle.