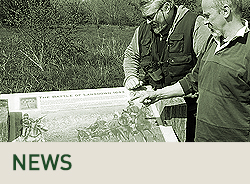
The Battle
Edward’s army was some 8,000 strong; only a small force had been left to guard Berwick. Douglas had by far the larger force with some 15,000 troops. Part of the Berwick agreement had stipulated that the Scottish force had to take battle to the English. Edward had chosen his ground well; deploying his troops on the northern slopes of Halidon Hill with a wide area of marsh to the fore and blocking the routes into the town. Douglas had to advance down Witches Knowe and across an area of marshland in front of the English positions before he could engage.
The Scots did not attack at once. Douglas waited until midday when the tidal River Tweed was at its full height in the hopes of pushing back the English troops into its waters. Edward used this time to rally his troops who were somewhat disturbed by the Scottish weight of numbers. The Scottish knights and men-at-arms had dismounted for the battle, perhaps due to the nature of the terrain or perhaps to match the tactics of the English whose knights and men-at-arms had also dismounted. As the Scots advanced across the bog the English archers opened fire. Those in the centre and on the right of the Scottish line, unprotected from the hail of arrows, were quickly dispelled. On the left of the line, nearest the sea, Douglas led the attack and here the fighting was much fiercer. But fierce though the fighting was it was still over quickly with the Scottish forces breaking and attempting to flee. For many of the heavily armoured and dismounted knights the flight from the field was hampered not only by the bog but by their own grooms who, witnessing the defeat in the valley below them, turned and fled with the horses. On seeing this the English mounted and pursed them for some seven leagues. The Scots were routed, Douglas killed and Berwick surrendered.