Battle of Stirling Bridge
Battle of Stirling Bridge
11th September 1297
Name: Battle of Stirling Bridge
Date: 11 September 1297
War period: Medieval
Start time and Duration: Unknown
Outcome: Scottish victory
Armies and losses: Scots: 5-6000 foot, 180 horse; English: around 6000 foot, 300 horse. Losses – over 1,000 English dead; Scots, unknown
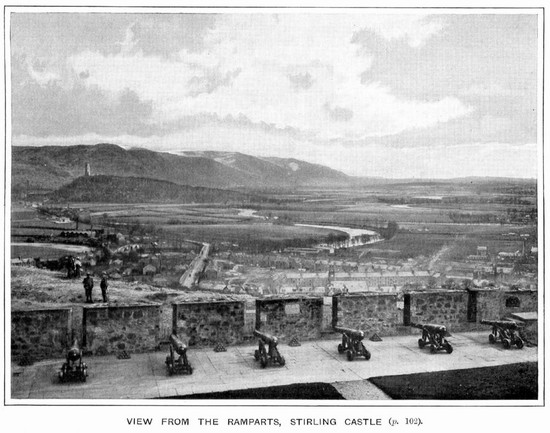
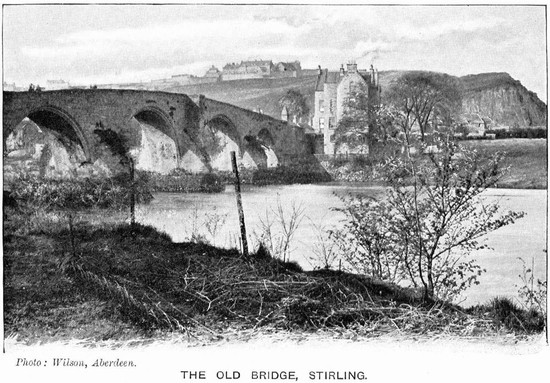
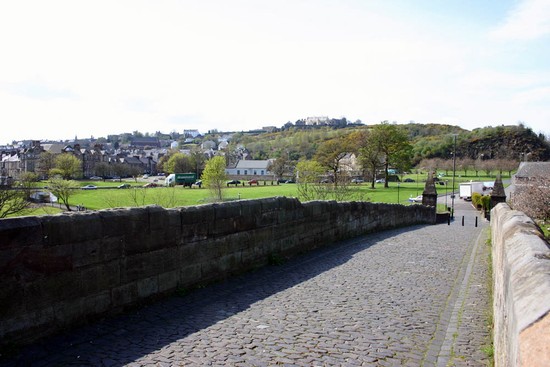
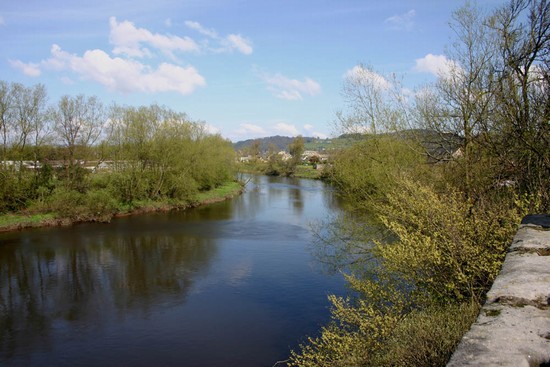
Location: On the east side of the river Forth in the vicinity of Old Stirling Bridge on low lying land within the loop of the river.
Map details: Grid reference NS798945 (279816, 694596) OS Explorer Map 366; OS Landranger map 57
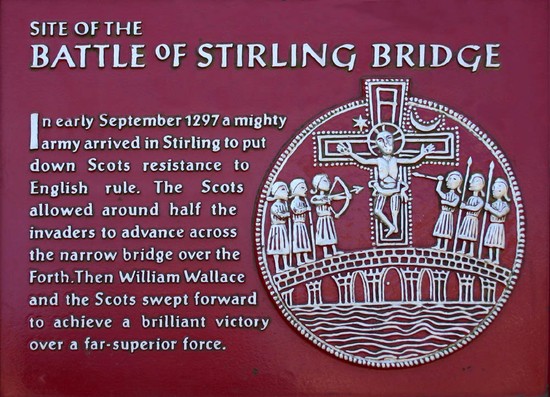
Scots waited for an English advance across the bridge before cutting them off and slaughtering many.
With the failure of the House of Canmore in Scotland, Edward I of England supported the installation of John Balliol as a vassal king of Scotland. In 1295 there was a rebellion, leading to an English campaign involving the sack of Berwick and the defeat of a Scottish army at Dunbar. Balliol then sued for peace and accepted an English occupation but, in 1297 under the leadership of Sir William Wallace and Sir William Morray, there was a major Scottish revolt.
This was at a time when the English were engaged in war with France and, as so often, the Scottish forces chose this time to challenge their enemy, when they were more vulnerable because fighting on two fronts. By August 1297 Morray and Wallace controlled almost all of Scotland north of the Forth, except for Dundee. As Edward I was fighting on the continent, the English governor, the Earl of Surrey, marched north with an army from Berwick to relieve Dundee.
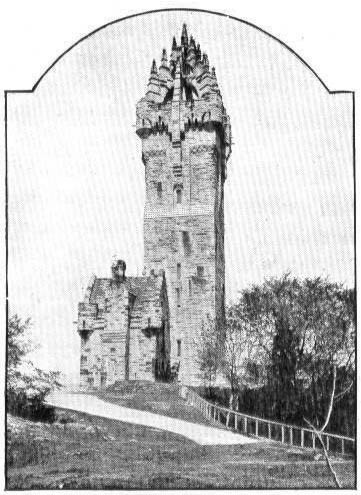
It was at the crossing of the Forth at Stirling that the Scottish army chose to meet the challenge. Stirling Brige was the first major Scottish victory in the Wars of Independence, placing the country back under Scottish control and raising Wallace to a position of political dominance.
A REPORT ON STIRLING BRIDGE, PREPARED FOR HISTORIC SCOTLAND BY THE BATTLEFIELDS TRUST, IS AVAILABLE FROM THE DOWNLOAD AREA ON THE LEFT