Deployment

PARLIAMENTARIAN
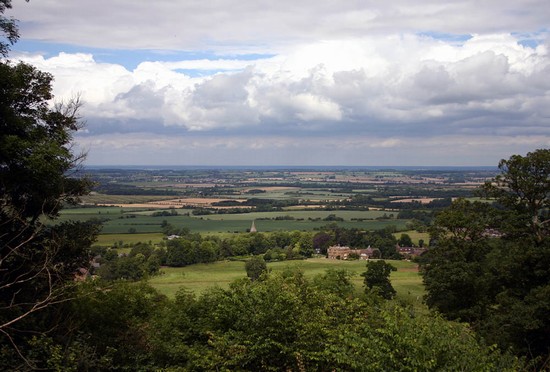
Essex was almost certainly depending upon the superiority of his infantry. His priority will thus have been to take as much advantage of the cover provided by the few lengths of hedgerow that crossed and abutted the open fields between Radway and Kineton. There his army was to stand, in a defensive formation, forcing the royalists to attack in terrain not best suited to cavalry action. In this way the Earl probably hoped to neutralise the royalist cavalry superiority.
The exact detail of the parliamentarian battle array is subject to some dispute, as there is no surviving plan of their deployment. Several of the alternatives are depicted in the comparative terrain & action plans presented here. What is certain is that the vast majority of the parliamentarian cavalry were placed on the left wing under the command of Ramsey. These were interlined by 400 musketeers to provide extra firepower, while a further 200 were deployed along the hedgerows to the fore and to the left. In addition some artillery pieces were deployed in support.
On the right wing Balfour was extremely weak in cavalry, because a substantial number of troops of horse had not yet reached Kineton. Here again Essex chose his ground well and was able to take advantage of the hedged enclosures that flanked the field on this side. He deployed 700 dragoons to line these hedgerows in support of Balfour. With his right wing thus protected from an outflanking cavalry move, he could afford to deploy at least some of the small number of horse on this wing behind the foot. This was to prove a key decision, for it was to protect them from Wilmot’s charge and enable them to play a crucial role later in the battle. In the centre the infantry were deployed in two lines, in the simpler Dutch formation that Lindsay had argued the royalists should also have followed.
ROYALIST
In the King's battle array Prince Rupert commanded the right wing of cavalry and it was here that the bulk of the royalist horse were deployed. This was a tactic drawn straight from the military manuals, strengthening the right wing in an attempt to break the enemy left and expose their flank to cavalry and infantry attack. Against best practice and simply for the sake of honour, the King’s Lifeguard were also allowed by the King to join Rupert’s wing. They should have provided a reserve of horse behind the infantry centre, a reserve which might well have turned the course of the battle later in the day.
On the royalist left wing Lord Wilmot had perhaps 10 troops of horse, well under 1000 men in all. In the centre the infantry were deployed, according to Prince Rupert’s wishes, in the more complex Swedish formation. We have an excellent plan of the royalist deployment, drawn up some years after the battle for Prince Rupert by Bernard de Gomme and reproduced in Young (1967), but even so there is still some dispute about the detail of the royalist battle array. Some reconstructions show the infantry with three battalions in the front line and two in support in the second line. Some other authors suggest five and four battalions respectively, because there are conflicting written accounts about the royalist formation. Of the 1000 dragoons, two regiments were on the left and one on the right wing.