The rout
The Scottish forces set fire to three haystacks, creating a great pall of smoke which seems to have drifted across the field and obscured the Scottish army from view. Rather than retreating, the Scots formed into a single schiltron, a tight battle formation of spearmen initially designed to combat heavily armoured English cavalry. Another source suggest they were deployed in two battles, Douglas commanding the vanguard and Moray the main battle or rearguard. The Scots then advanced on the enemy with a battle formation in the form of a shield, that is like a wedge, with the wings withdrawn. Without a strong body of men at arms to provide the core of their response, the English could not stem the Scottish attack and fled, apparently without initially coming to hand to hand fighting.
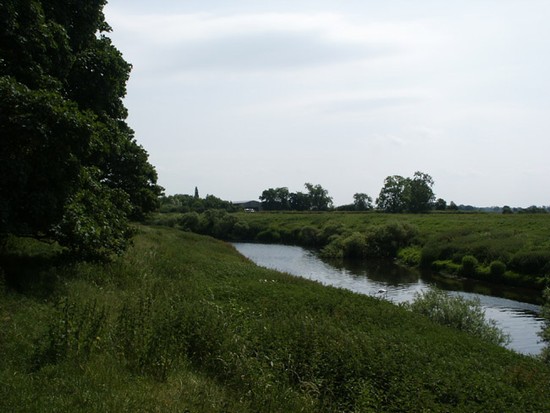
This enabled the Scots to change their tactics to a more aggressive mode, dividing up their battle formation. The Scottish hobilers (mounted infantry) mounted up and outflanked the English forces, placing themselves between the English and the bridge. With the bridge in enemy hands, the fleeing English troops were forced either to stand and fight or to brave the waters of the Swale, many drowning in the attempt. While many English were killed even more were captured and taken as prisoners with the Scottish army when it retreated, to be ransomed. The archbishop himself fled and many more English troops escaped, thanks to the onset of night, than would otherwise have been the case.


